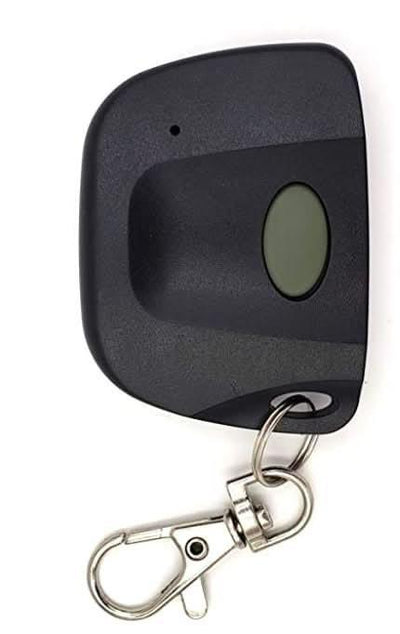

How to Program a Tiltamatic Magic Key Compatible Remote (TRG306, TR300, TRV300, TRG303)
Tiltamatic Magic Key compatible remotes are coded with dip switches. Open the new remote, copy the switch pattern from your original remote or motor, close it and test.
- The new compatible remote
- Your existing Tiltamatic remote (or access to the dip switches on the motor)
- A small Phillips screwdriver
- A pen or toothpick to move the dip switches
Tiltamatic openers use a fixed dip switch code rather than a learn button. Programming means matching the switch pattern on the new remote to the one on your existing remote or on the motor.
Applies to
Compatible replacement remotes for the Tiltamatic Magic Key TRG306, TR300, TRV300 and TRG303 handsets.
Before you start
Work on a table under good light so the switch positions are easy to see. A pen tip or toothpick makes the small switches easier to move.
Independent programming guide for compatible replacement remotes. Brand and model names belong to their respective owners.
Step-by-step instructions
Open the new remote
Remove the two screws on the back of the new remote and lift off the rear cover to reveal the row of dip switches.
Expose the switches on the original
Open the battery cover on your existing remote to see its dip switches. If you have no working remote, find the dip switches on the motor itself, usually under the side panel.
Copy the switch pattern
Set each switch on the new remote to the same position (up or down) as the matching switch on the original, working left to right. Double-check every switch.
Close and test
Refit both covers and press the button on the new remote. The door should operate exactly as it does with the original.